Add Scenery
From Shoot Em Up Kit
Placing Scenery
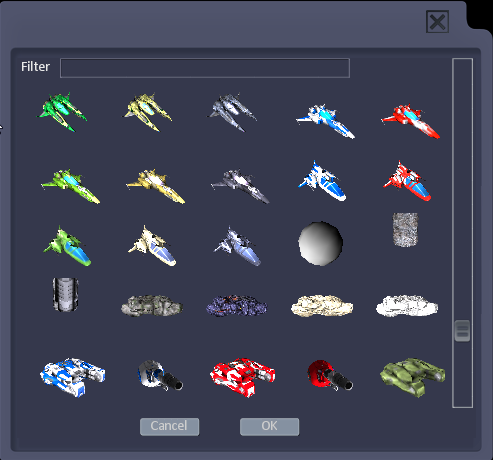
To add Scenery to the scene click the Scenery icon ![]() on the Tools menu and an entity selection window will open.
on the Tools menu and an entity selection window will open.

Select an entity, move it using the mouse and click to place it. To place multiple copies of an entity, hold down [CTRL] while placing.
Use the Gizmos on the toolbar to move, rotate and scale the Scenery.
Scenery Window
The Scenery window will open when a Scenery item is added or selected to set the scenery properties.
All other properties (Model/Sprite, Collisions, Physics, Effects and Tags) will be as set in the Entity Editor for the entity. Changing a property in the Entity Editor will change it for all instances of that entity, for example if the explosion effect when a ship is destroyed is changed in the Entity Editor, the new explosion will be used for all instances of that ship in a game. To jump to the model in the Entity Editor quickly, click the arrow by the Entity.
Display List of Scenery Items in Level
To get a list of all the Scenery Items in the level, hold down CTRL when clicking the Scenery icon ![]() on the Tools menu.
on the Tools menu.